Easy collaboration through file sharing
The exchange of documents within groups facilitates collaboration and ensures that all members always have access to relevant information. In this article, you will learn how to upload, share, and manage documents in groups.
Possible uses
There are various ways to use groups and documents that promote knowledge sharing and collaboration. Here are some examples:
- Company Policies & Knowledge Management
Use as a central repository for instructions and staff guidelines - Team and Project Documents
Use in project teams for the exchange regarding ongoing customer projects with plans, reports, and updates. - Training & Continuing Education
For sharing instructions and training materials as well as onboarding new employees. - Internal Communication Platforms
Use as an internal employee area for exchange and collaboration on various initiatives.
Check out this explainer video:
1. Add documents to a group
To add documents to an existing group, follow these steps:
-
Navigate to Manage Groups in the admin panel
.png)
-
Select the desired group by clicking on the name or create a new group.
-
In the section Document Management, click on Links and Attachments (blue button) as illustrated:
.png)
-
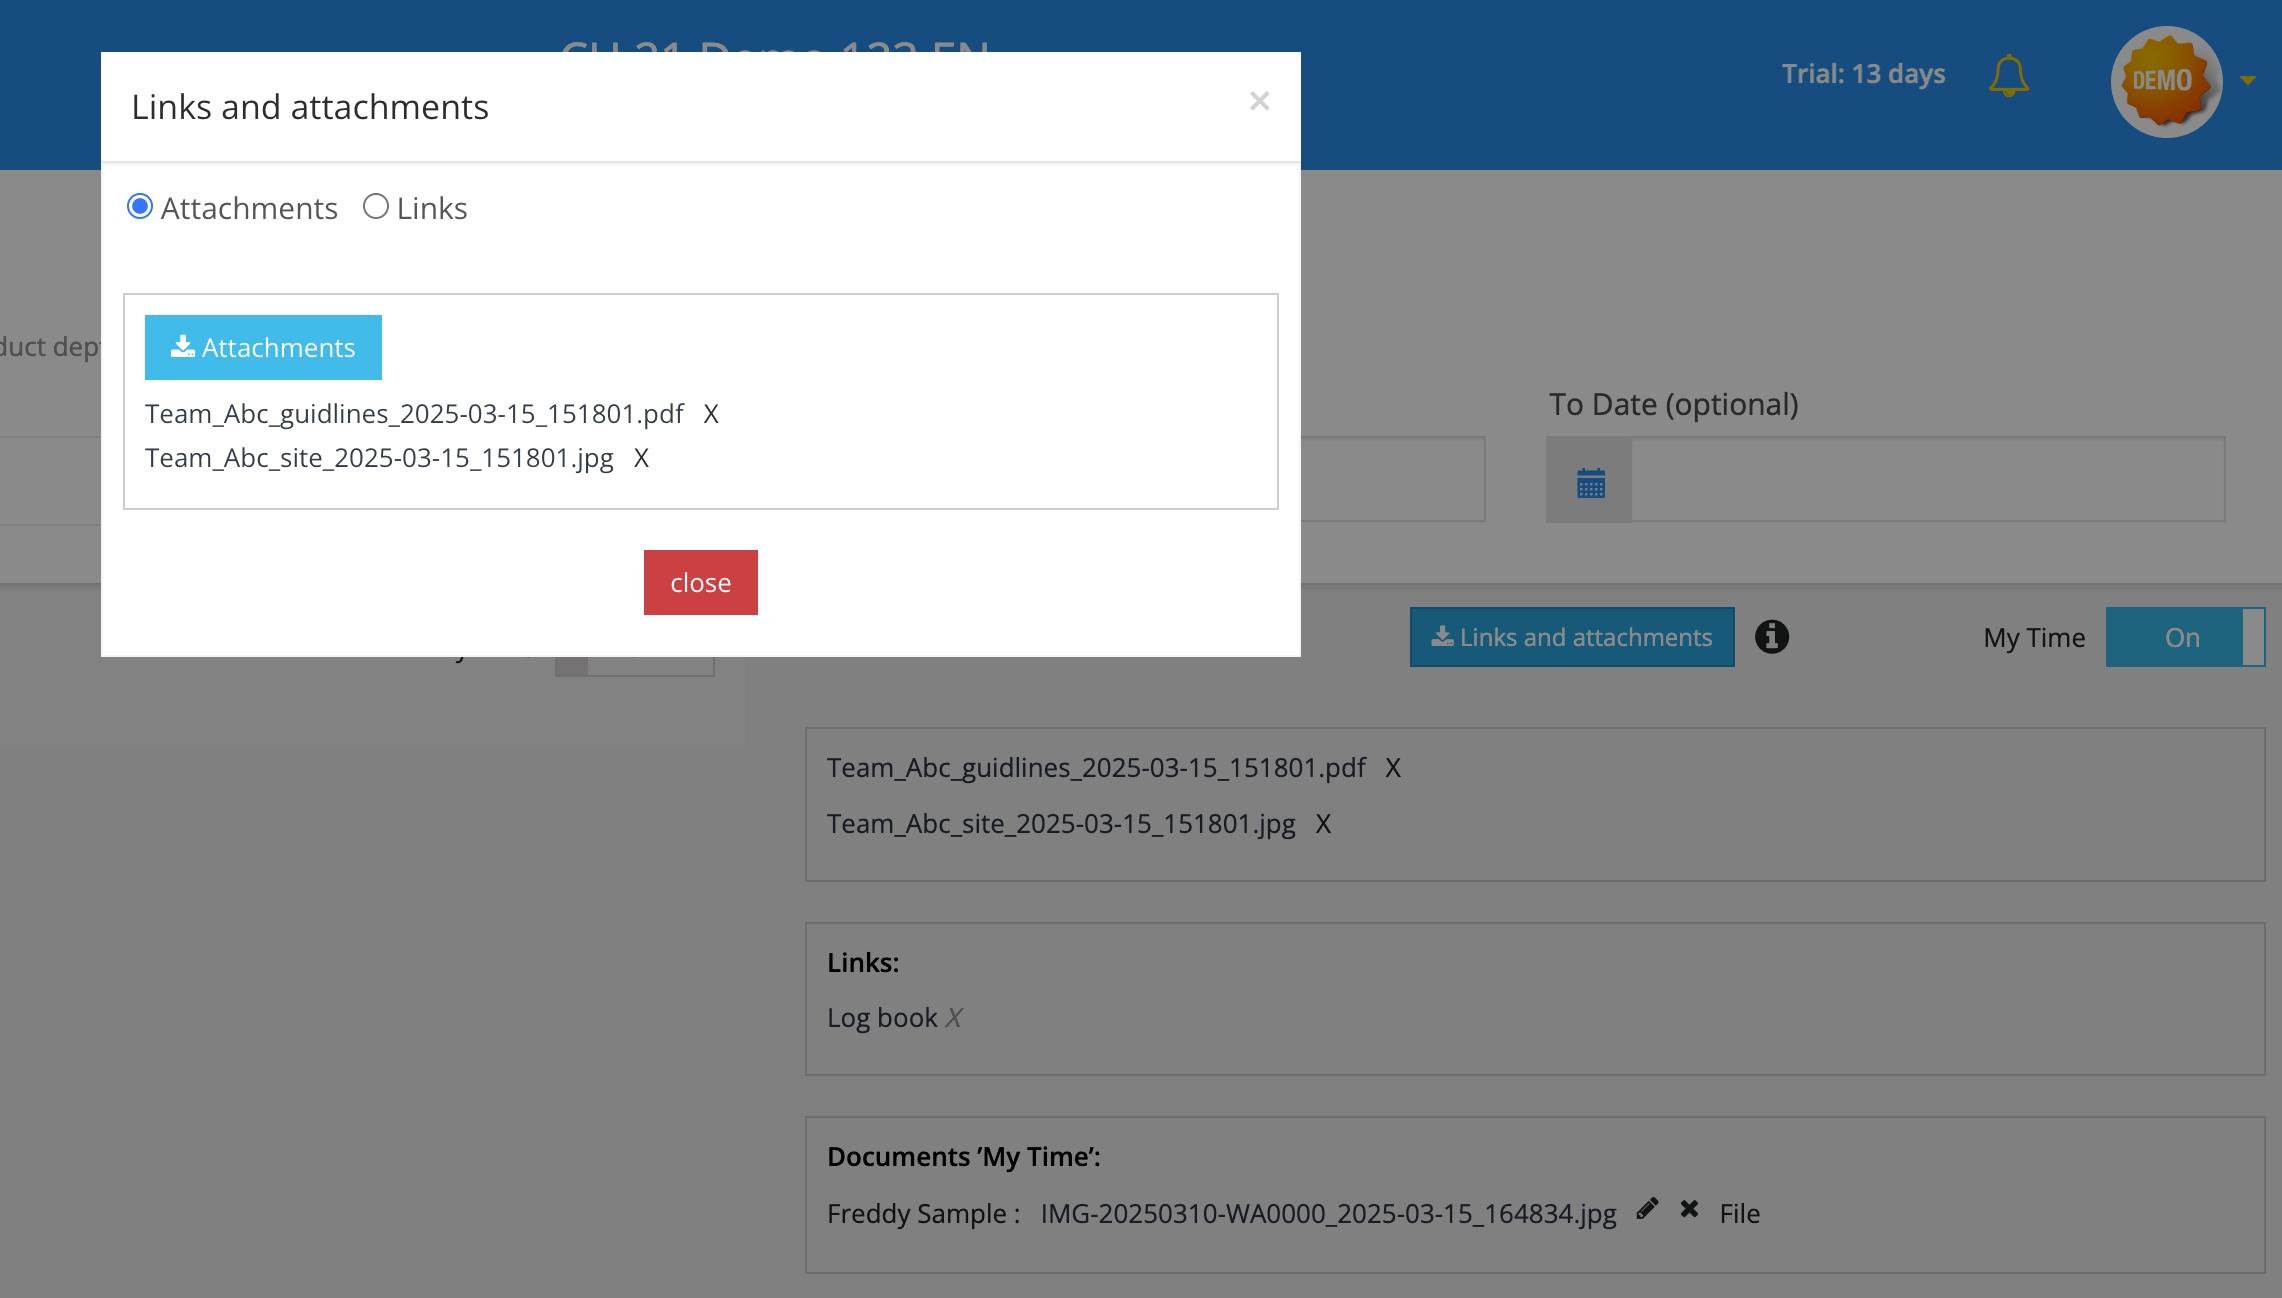
Upload the desired files, but please note the file size limit. Details can be found in the info icon ℹ️. If you are already using an existing file storage, you can instead set up a link as a shortcut – especially useful when using cloud services like OneDrive or Google Drive.
.png)
-
To share the documents with your team, activate the "My Time" button. This will give your group members read access to the documents in the My Time App. Additionally, they can add their own files, which will then be displayed in this section under My Time files.
.png)
2. Share files with group members
To share a document specifically with certain group members:
-
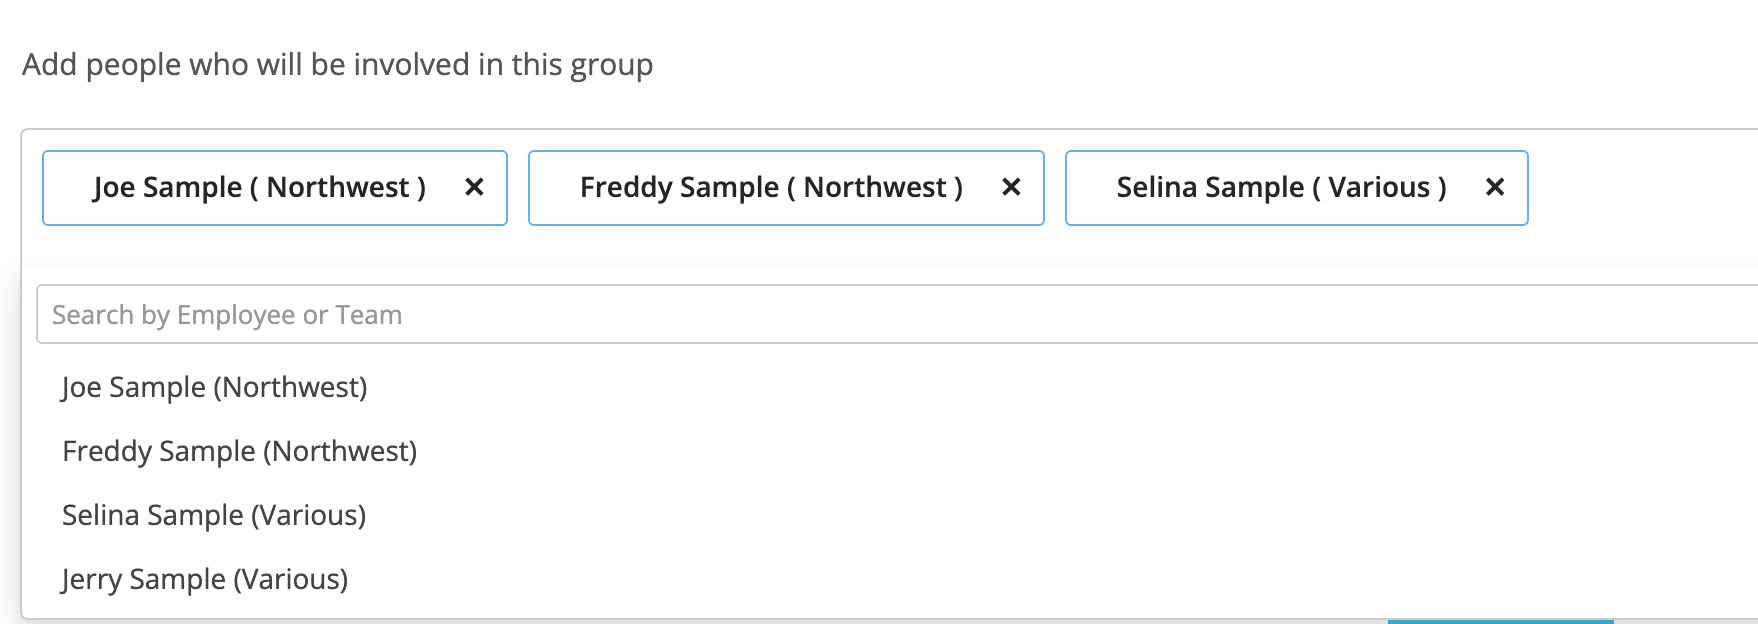
Determine which members should have access to the document by adding the users of the group in the lower section using the drop-down list.
.png)
-
Activate a notification with a custom text to inform the selected members. Then click on Save to deploy the group content and send the message.
.png)
-
With each save, an audit trail is created in the lower area. There you can see which messages were sent and to whom they were addressed.
.png)
3. Update documents and manage versions
- Update documents: Old versions of a document can be deleted by clicking on “X” next to the file in the file list. A new version can then be uploaded and replaced.
- Administrator rights: Files uploaded via the admni panel can only be deleted by administrators.
- Deletion rights for group members: Group members can delete their own uploaded files at any time in the My Time App.
- Restrict access: To make documents inaccessible, document management can be disabled by deactivating the My Time button, removing the relevant user, or archiving the group in the list view using the Archive button.
- Restore archived groups: Archived groups are stored in the “Archived” tab and can be reactivated at any time through a status update.
.png)
4. Data protection & privacy
- When creating your account, you selected a host region and thus a file server location. Your data is encrypted and securely stored on the Staff Times partner servers in the chosen region.
- If you no longer need the Staff Times services, your data can be completely deleted upon request.
- Staff Times is not responsible for external links that you set up and that refer to third-party services.
5. Projects & Team Communication
The use of documents in workgroups can be both project-related and for general internal team communication. For more information on using groups in connection with project time tracking and project planning, please refer to our help articles.